To contact
Gir
So a few months ago i decided to propose to the woman. For some odd reason, she has tolerated my projects, experiments, and the complete inability to maintain a normal sleep schedule. I figure any woman that catches you etching circuitboards in her tupperware, and lets it slide- she's a keeper.
Dorothy has always been amused by the childlike personality of gir, so being the dork that i am, i decided to take a simple task like proposing, and make the whole task as complicated as possible, and having him/her do it for me.
Dorothy has always been amused by the childlike personality of gir, so being the dork that i am, i decided to take a simple task like proposing, and make the whole task as complicated as possible, and having him/her do it for me.
My background
Not much to say about me. No fancy schooling or training- in fact i think i got a C- in electronics class. I dont drink, and i've never been really social, so in my spare time i pick up hobbies. First metalwork, then forging, then electrical theory, programming, and the list goes on. No paper to prove i know how to do the things i do- but i have plenty of projects to speak for themselves. I do custom projects on request.
The build: head
First i started out with the head. If the head doesnt look right, the whole thing won't look right. i found my biggest obstacle to be materials and tools for forming the sheet metal. The round portion of the head was cut from an oxygen tank's protection cap, since it had the diameter i needed . I welded 16 guage steel around the edge, and gave the head a taper. there was a lot of grinding, a lot of welding and cursing to get the head shape. Another thing that is difficult is finding a nice medium- his head is any number of shapes, depending on the emotion and mood. My head is a little too long, but i left it like that in case i wanted to add a mouth later. The seam is visible in the below picture.
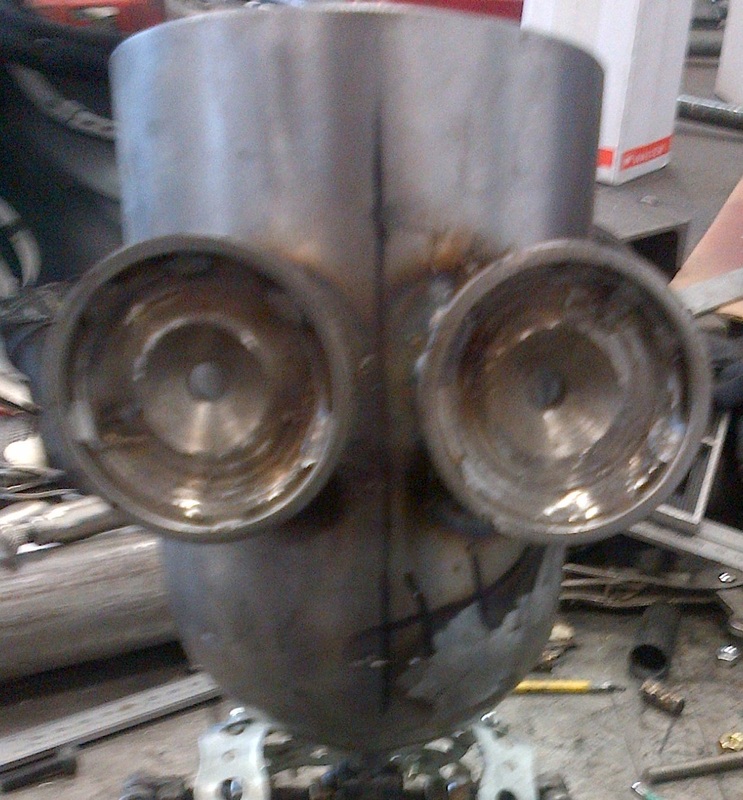
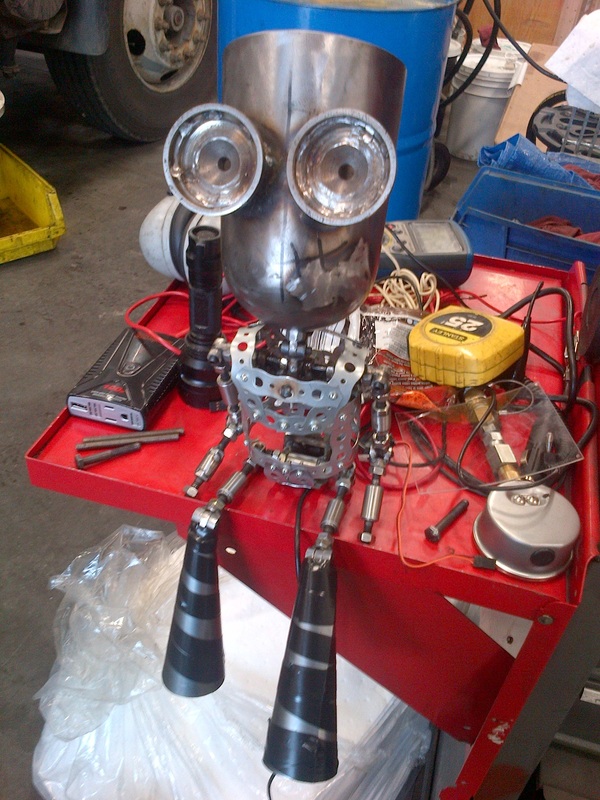
The eye sockets were machined from solid steel slugs, 2 inches in diameter. there are 1/8" recesses to hide the leds, and diffuse the light a bit for the lenses.
Body and skeleton
The body dimensions were eyeballed, no measurements taken. i wanted a simple frame, hollow inside, similar in dimension to the head, but smaller slightly in scale.
The body was made from galvanized steel strapping, held in form with 4-40 machine bolts. Once the frame shape was satisfactory, i welded the strapping together, smoothed out the welds, and removed the bolts. The nice thing about strapping, is that it has 1/8th inch holes in it, perfect for riveting things into it. To cover the body, i used .020 steel shimstock, cut it to fit, and riveted through it, into the strapping.
The body was made from galvanized steel strapping, held in form with 4-40 machine bolts. Once the frame shape was satisfactory, i welded the strapping together, smoothed out the welds, and removed the bolts. The nice thing about strapping, is that it has 1/8th inch holes in it, perfect for riveting things into it. To cover the body, i used .020 steel shimstock, cut it to fit, and riveted through it, into the strapping.
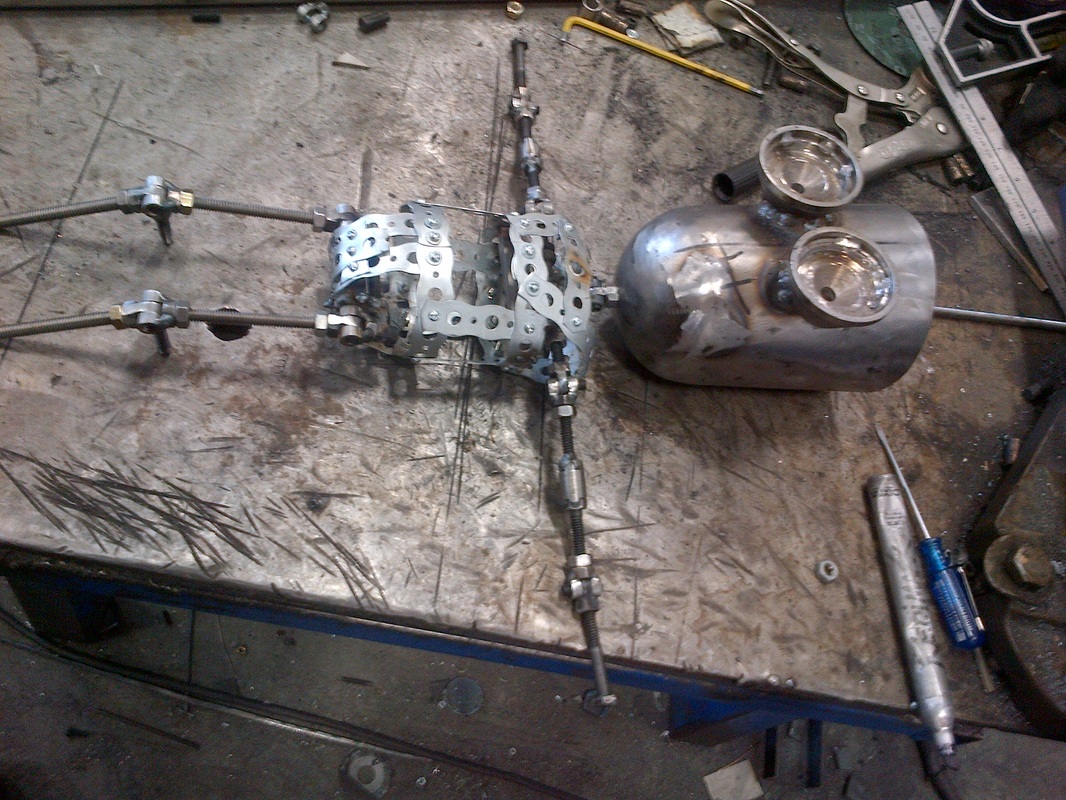
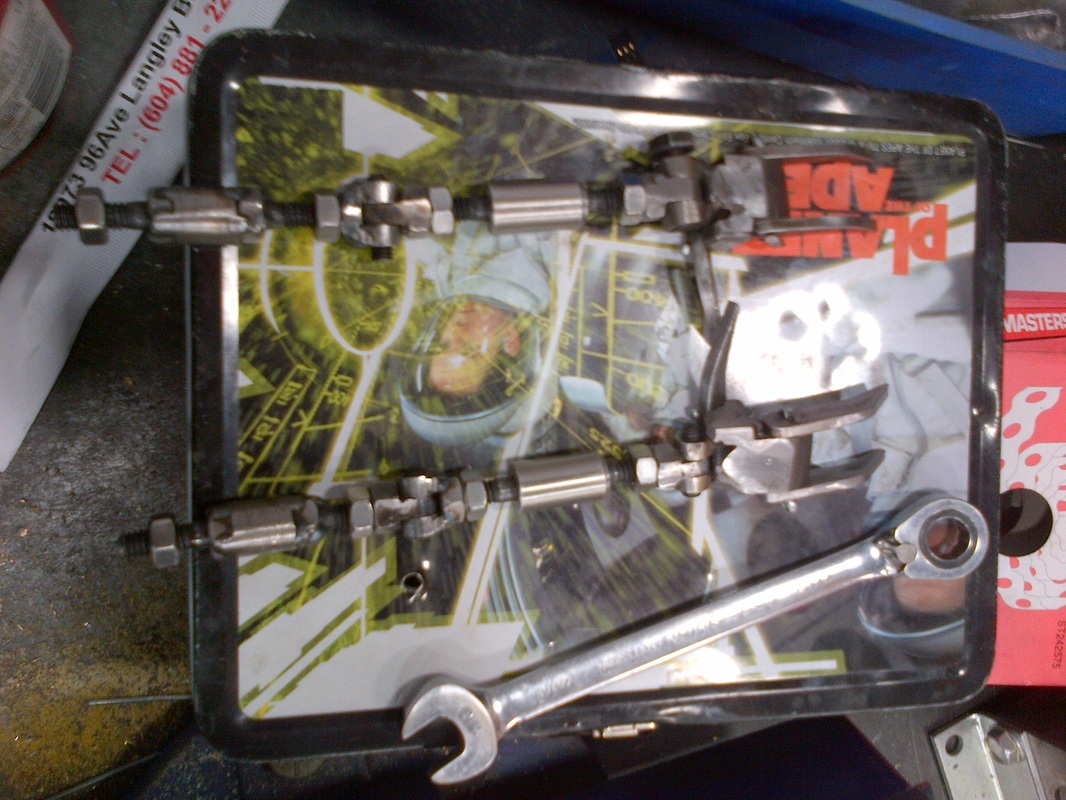
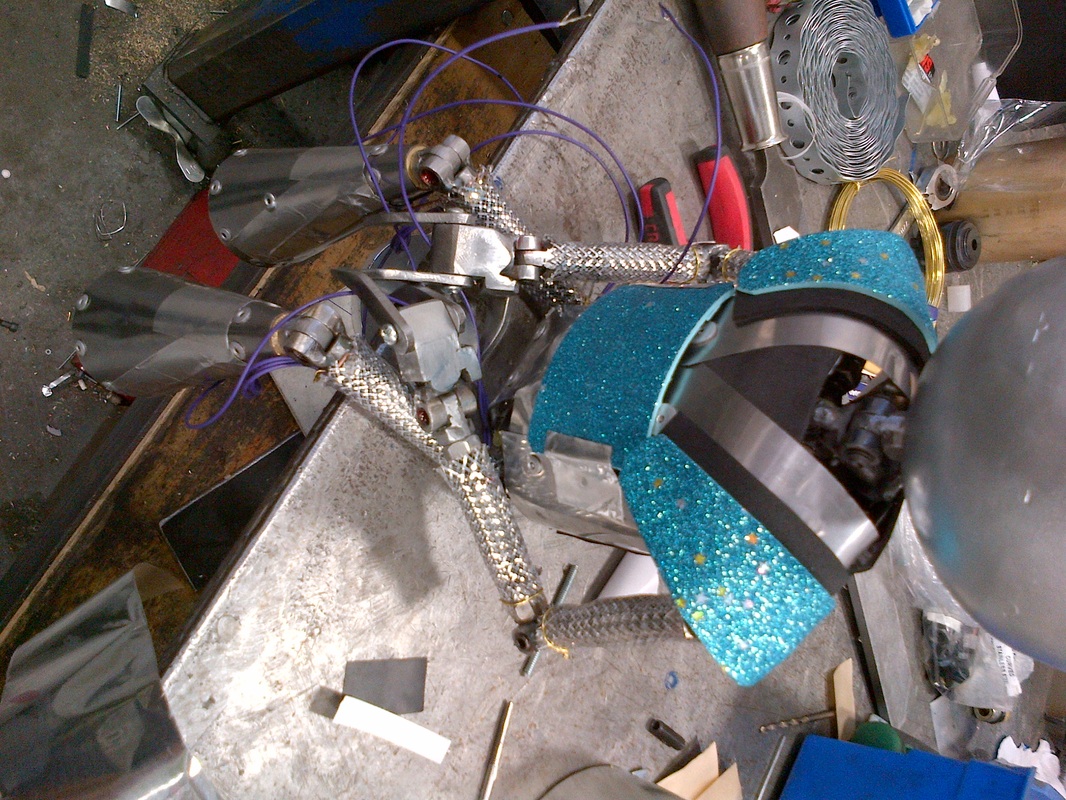
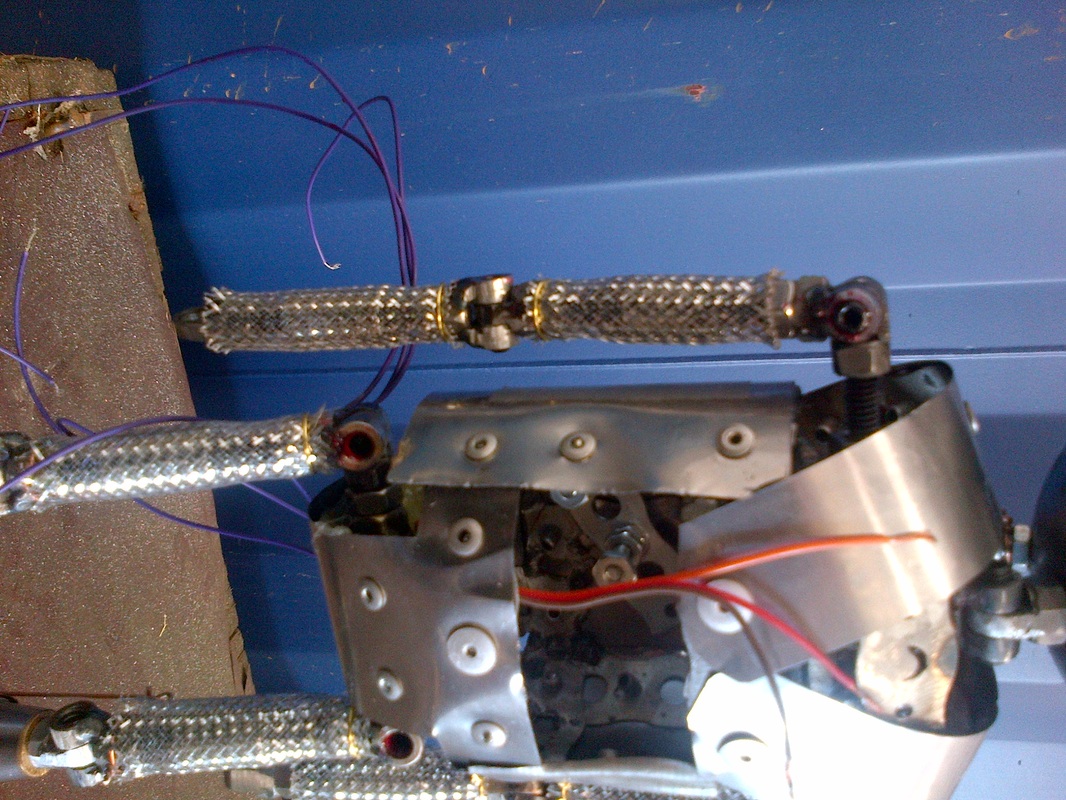
The skeleton is made of bolts. Just bolts. !/4"NC to be precise. I made the hinges by sandwiching some nuts together, and drilling the threads out of the center nut. Each limb has a swivel in it, they are the grey tubes in the forearm, bicep and thigh. The swivels are made of bolts and nuts aswell, no special crap needed, all steel construction, and they move smoothly. Anyone wants to know how to make them, just send me an email. Since all the limbs are threaded, the entire skeleton is modular, and simply threads apart.
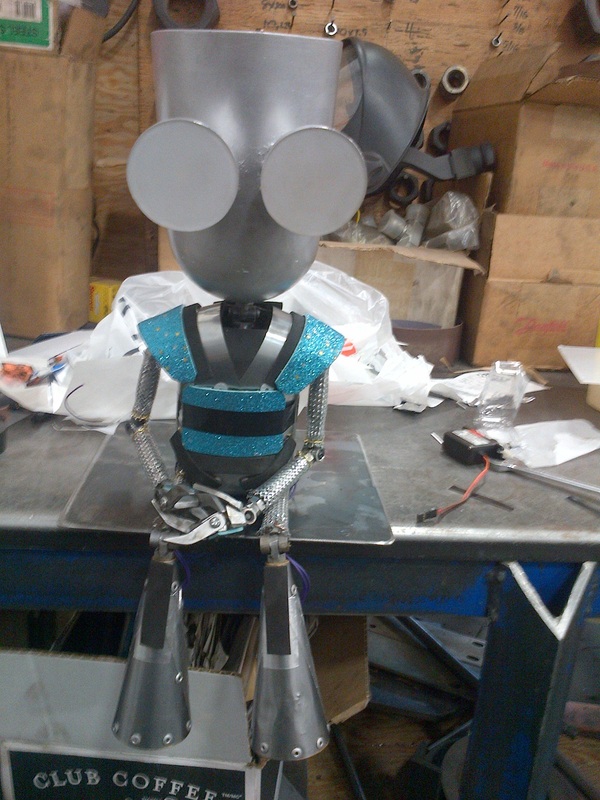
Since no real amount of sanding is going to take the sharp edge off of shimstock, i opted to kill 2 birds with one stone. Gir's shoulders are teal, , and so is his chestplate. I used an adhesive backed foam to trim his shoulders and chest, both for color, and to soften the edges. Black foam was added to soften additional edges.
Inside the Torso, there are 3 things:
-door servo, connected by a conrod to the inside of the door.
-swivels for the shoulders and hips. made from NC bolts and nuts.
-A lever, pinned to the center of his back. one end of this lever is connected by a conrod, to the underside of his head, about 1/4 inch away from the primary neck joint. When this lever is turned inside the body, the head will tilt forwards or back. the other end of the lever is connected to a standard servo, with springs assisting in pulling the head up.
Legs
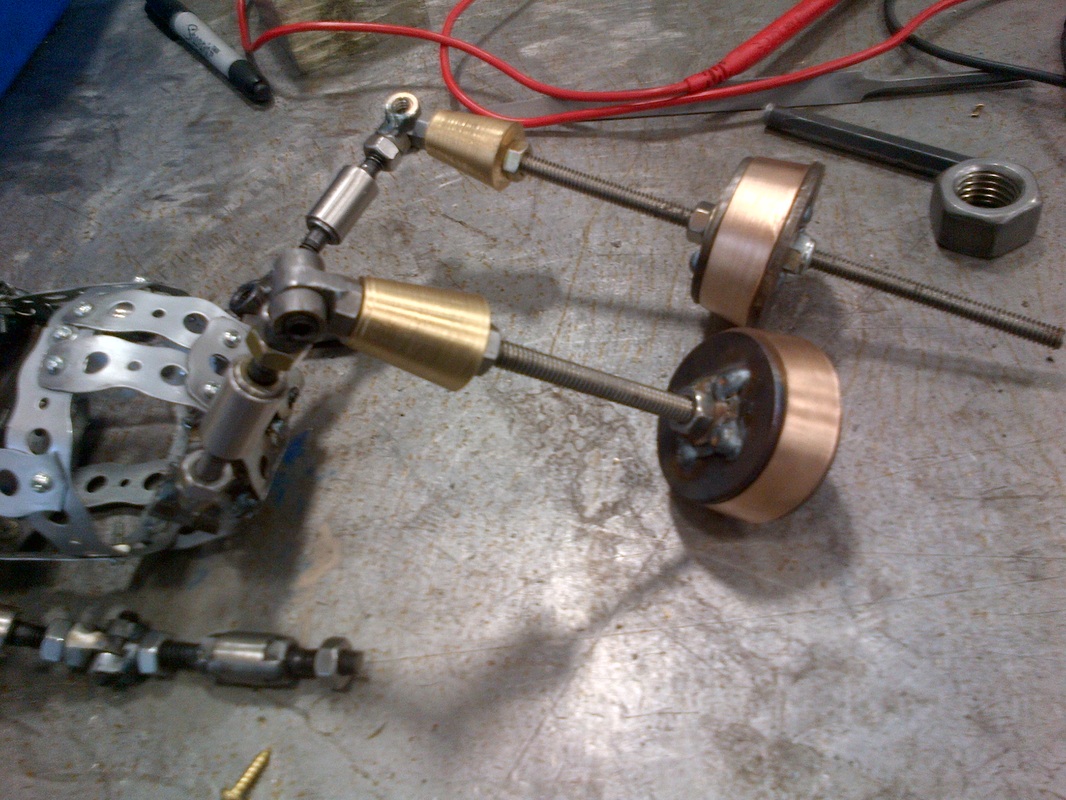
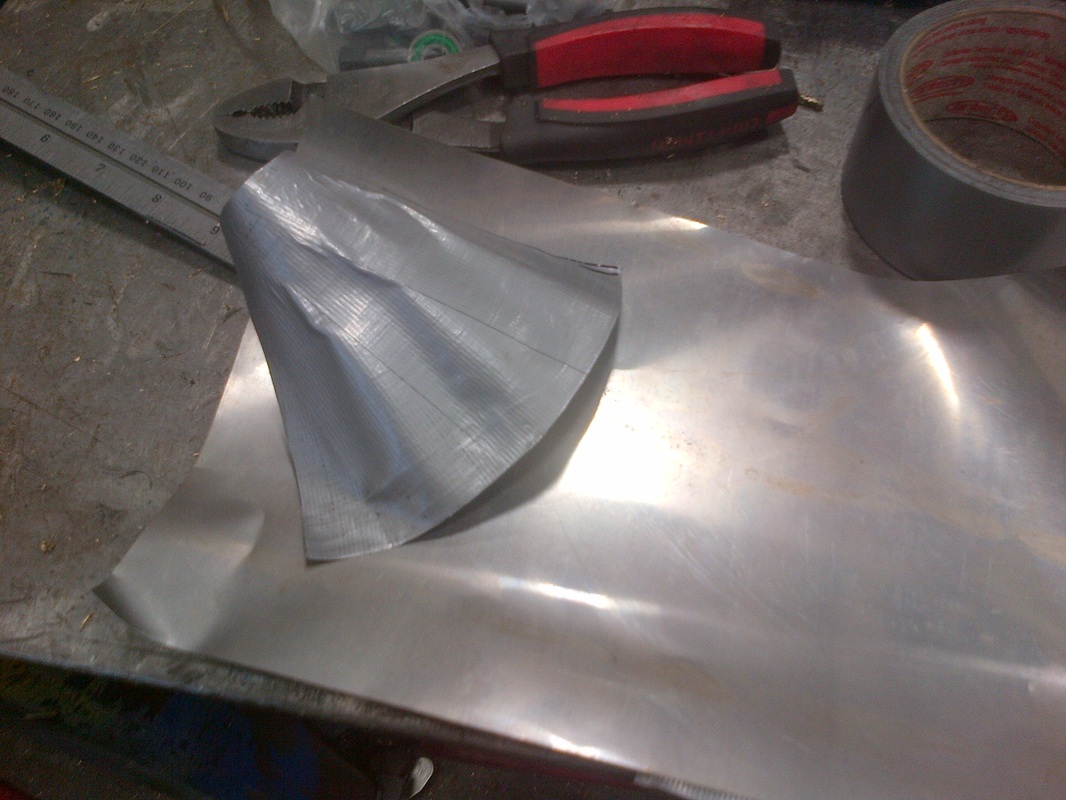
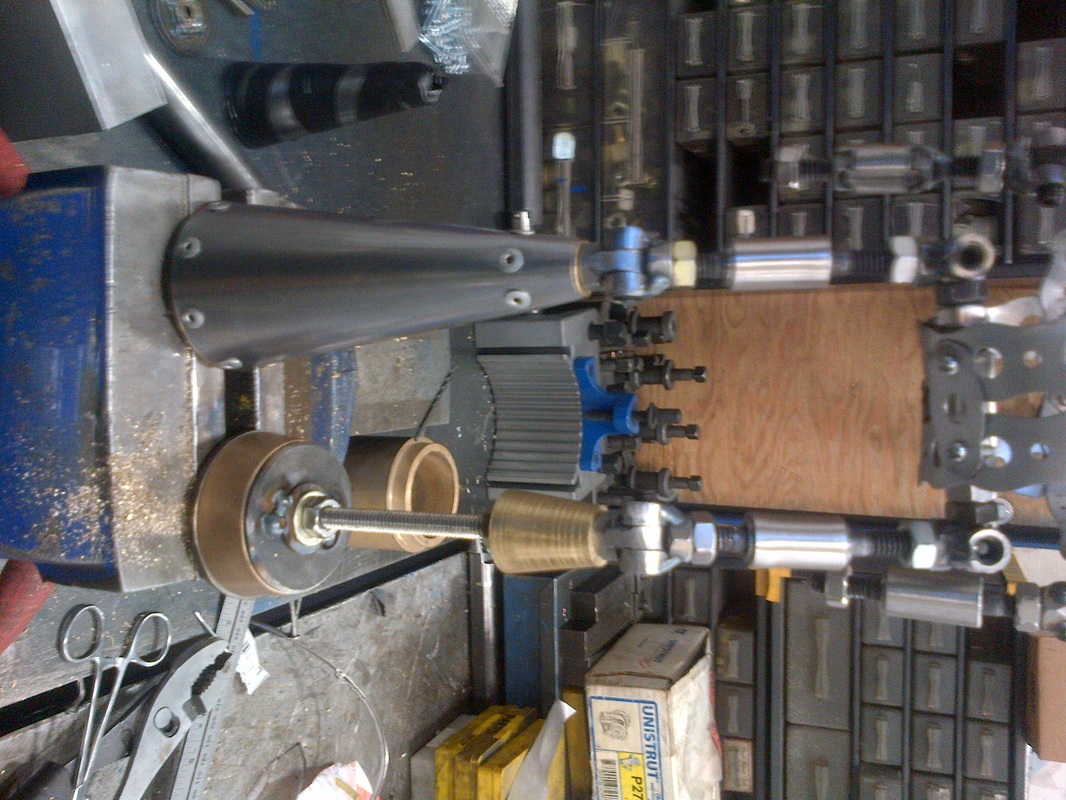
The legs are one of the most important parts of the build. The legs need to be hollow, but sturdy. I started out by machining 2 brass slugs, with a 9 degree taper to them, and cut out everything from the middle, leaving the tip of the cone, and the bottom ring. I didnt want too much material in there, since the legs need to be moved by small motors that cannot pull too much weight.
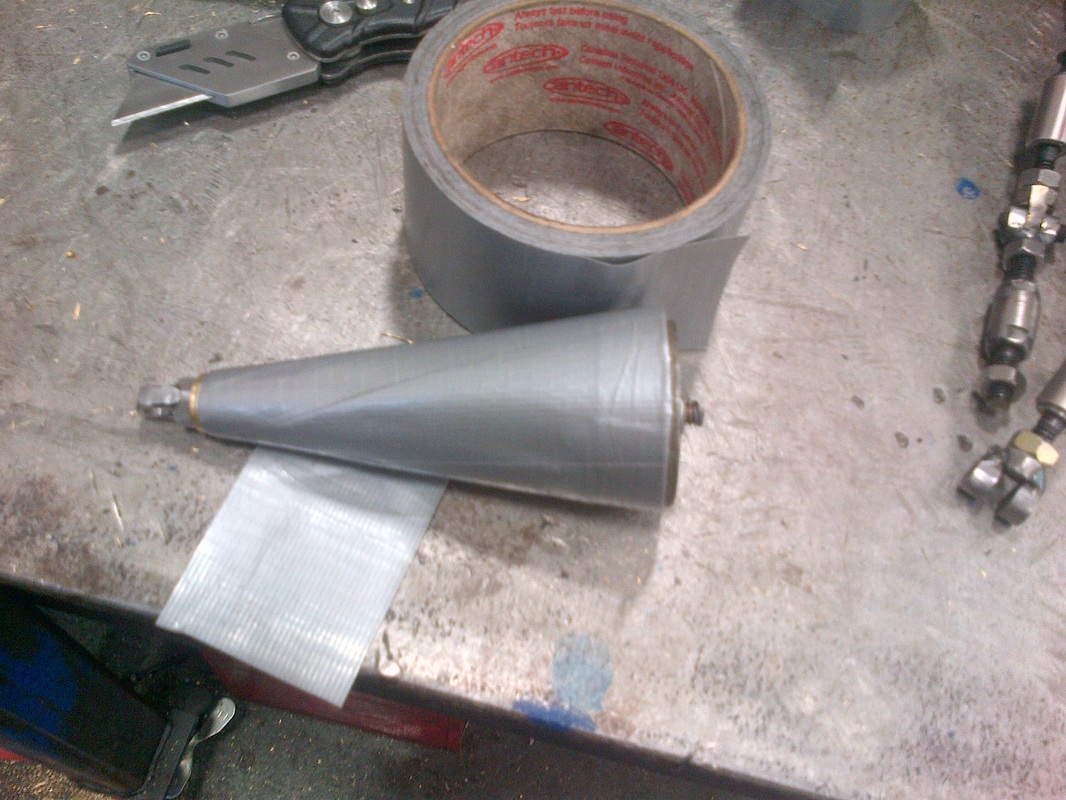
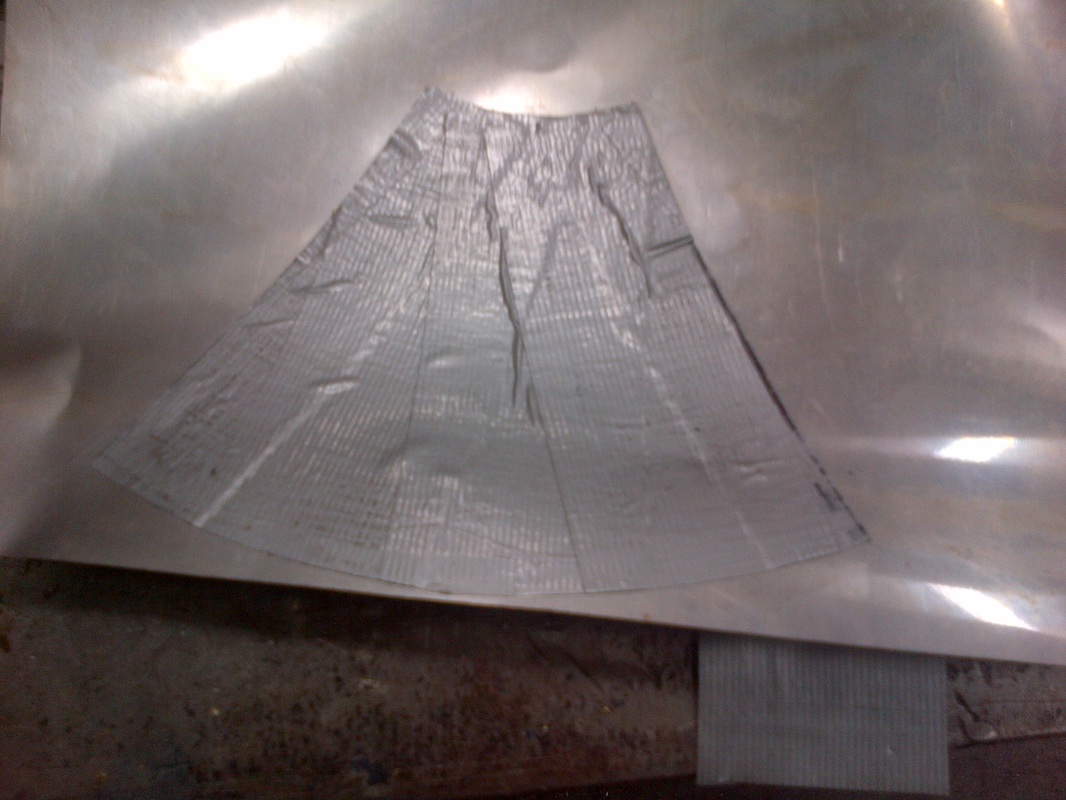
I spaced out the tip and ring with a piece of threadrod. I then wrapped the legs in duct tape, and cleanly removed the tape. The tape, when peeled off, makes an easy pattern for cutting out the sheet metal needed for skinning the legs.
a few rivets later, and the legs are made
I spaced out the tip and ring with a piece of threadrod. I then wrapped the legs in duct tape, and cleanly removed the tape. The tape, when peeled off, makes an easy pattern for cutting out the sheet metal needed for skinning the legs.
a few rivets later, and the legs are made

The guts (wiring)
Gir contains:
-4 servos. 1 standard size for head tilt, 1 mini for the door, and 1 mini in each leg.
-2 3watt RGB led's. these are the eyes.
-1 mainboard
-mainboard contains a pic16f628A microcontroller, operating at 5v, regulation circuit for servo power, regulation for sound module power
-1 somo14d audio module, operating at 3.3v, with a library of GIR quotes, stored on a microsd card.
-1 amplifier board. Signals from the pic controller control the eye color, by signalling a trio of tip31C BJT transistors.
-1 remote module. A simple remote operated relay board. off the shelf model. runs off 12v.
How GIR operates:
Gir runs on 12 volts, there is a regulation circuit built in, so he can actually from from 28-9 volts dc. 12 is nominal.
When power is applied to the mainboard, gir goes into reset mode. The leg servos are told to sync up and fall (if up), the door is told to close, the eyes turned off, and the head to tilt down. This is done so that if a failure occurred last time, or he was shut off mid-program, he would revert to stage 1 in his animation automatically. He then waits in standby mode for input. the Servos are allowed to ragdoll.
-The remote controlled relay is placed inbetween an I/O pin on the pic, and power, meaning that every time the remote is pushed, the Microcontroller sees the state of the pin shift from low, to high. This signal tells it to advance through the program. Since Gir is in standby mode, he waits for the button push.
-Once the remote is pushed, he goes through his next animation, turning on his lights, and associated functions, until his next standby, until he finally goes into shutdown mode. This is a very simplified method of control, but it allows for some method of outside intervention.
the speech is controlled by sending a string of data to the somo audio module, telling it what sound clip to play. The sound clips are acutally just copied to an sd card, and played in order, but the controller has the option to play anything it wishes, according to the program.
I have changed his program a few times, and the recent one was for the proposal, and it worked great.
To control the servo positions, a simple Pulsout command gives the microcontroller direct control over the servo arm position- so the simple swinging legs could be turned into something more impressive or co-ordinated. The nice thing about microcontrollers, is the lack of extra circuitry needed to support a large number of servos, and the ability to control a large number of them accurately at the same time

A conrod connected from the servo arm in the base of the foot, running to the back of the thigh, just above the knee, allows the leg to move accurately , strongly, and is very easy to service if need be.
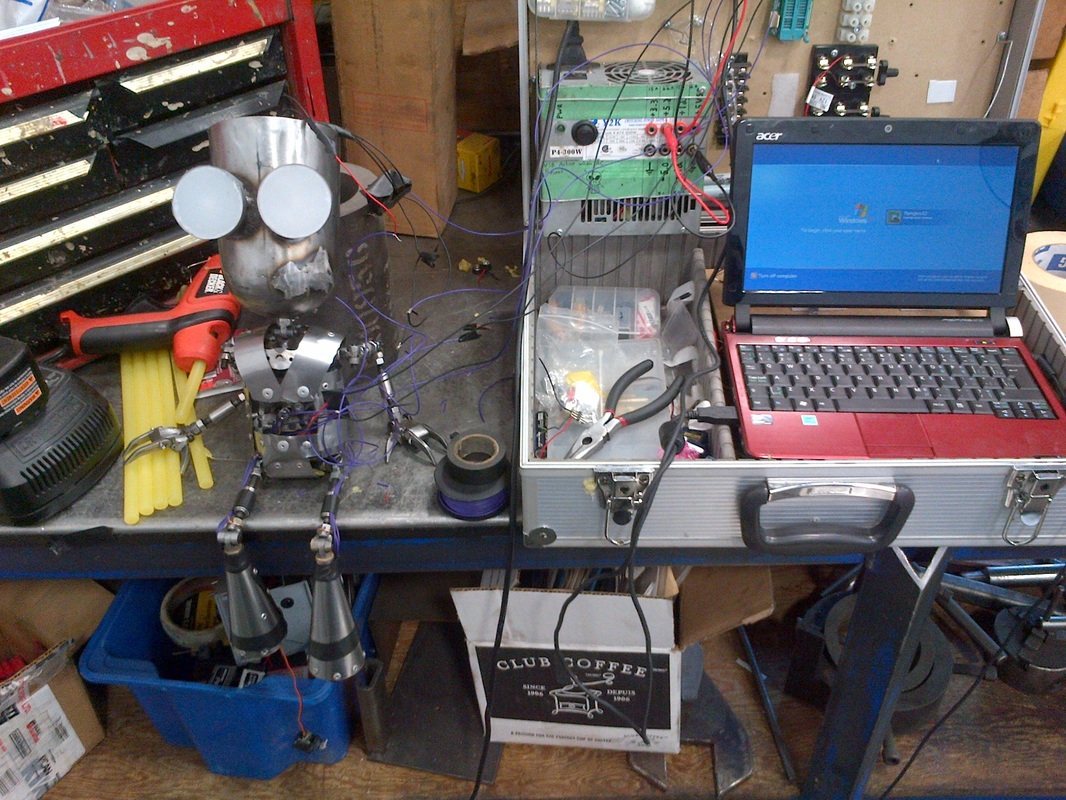
The servo wires are trailed up the leg, and hidden under expanding wire loom. I happened to find the cheeziest stuff in the world, glittery silver. I thought it looked perfect for the application, and it hides the wires and swivels.
The servo wires are trailed up the leg, and hidden under expanding wire loom. I happened to find the cheeziest stuff in the world, glittery silver. I thought it looked perfect for the application, and it hides the wires and swivels.
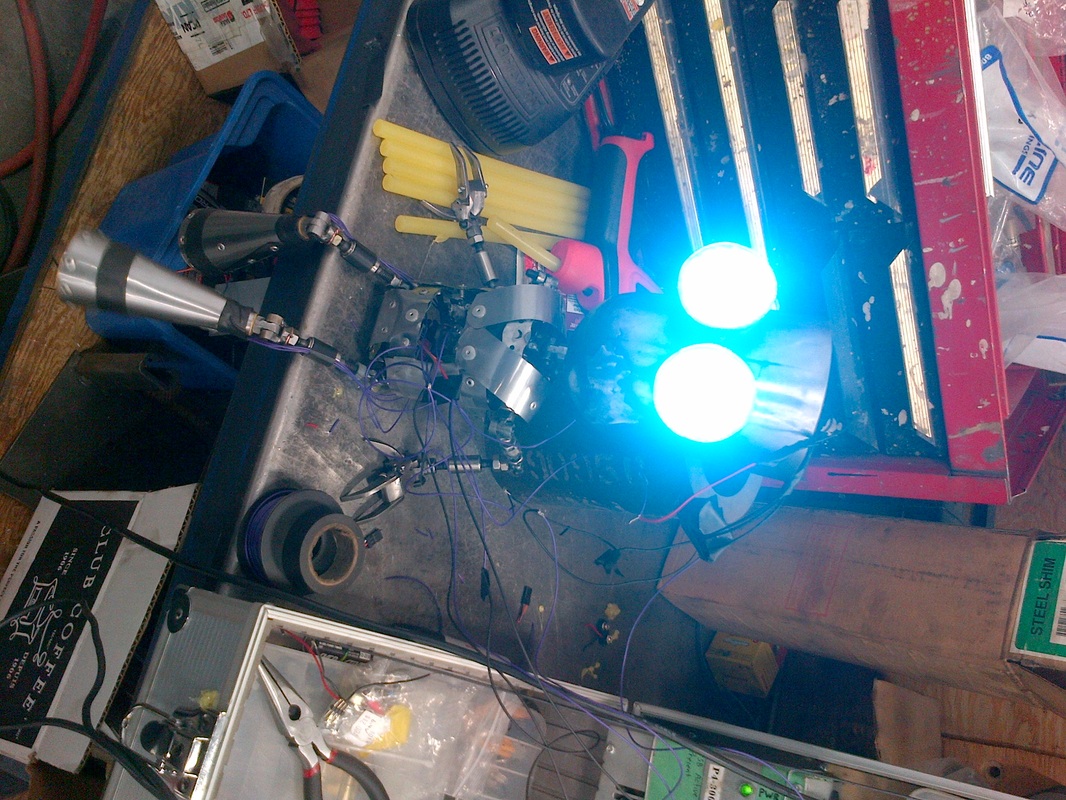
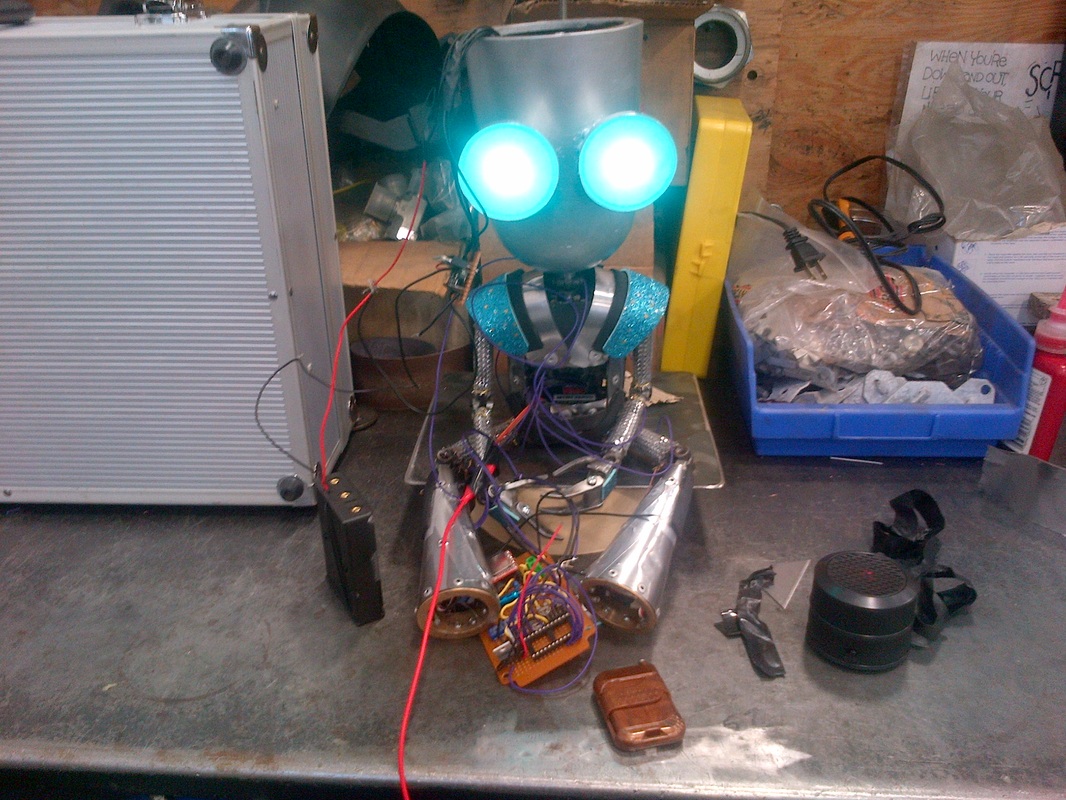
Yeah, the eyes were a little bright at first. had to dim them a bit.
All the servos are tied together in the torso, sharing a common ground and power rail.
All the servos are tied together in the torso, sharing a common ground and power rail.
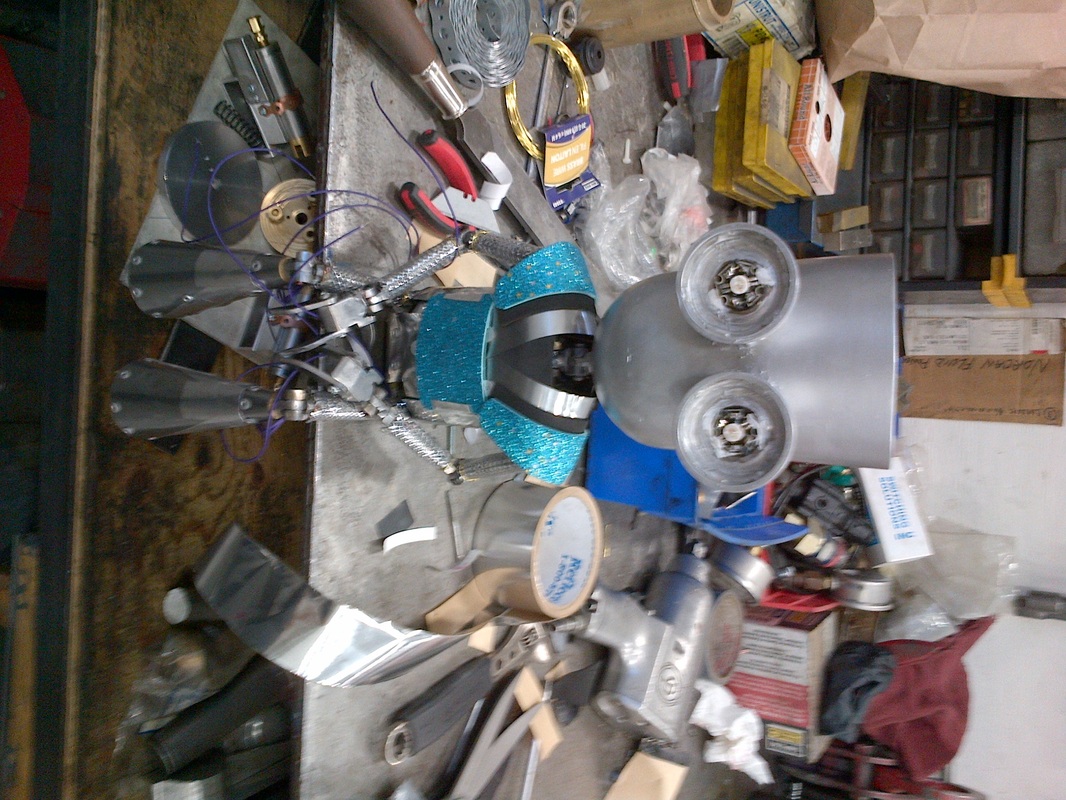
Head polished, painted silver, and the eyes connected.
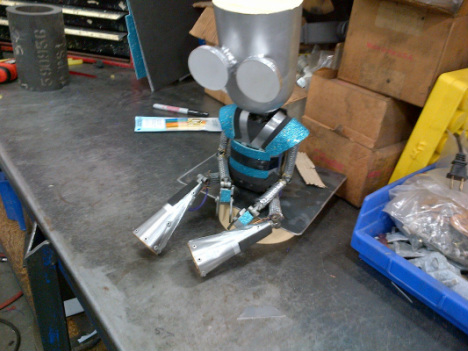
Almost ready for duty
The head is a little heavy, so sometimes the head servo sags a little low, but it still works great. it just makes him look depressed when he's shutdown.

The lenses are made of standard 1/8th acrylic plastic from home depot. i just glued some white plastic film to the back, to diffuse the light from the led's, and hide the inside of the sockets.
A few more pics just for fun:
A few more pics just for fun: